
Rubberised Wetpour Repair Process
The steps involved with repairing a rubberised wetpour safety surface are down the page.
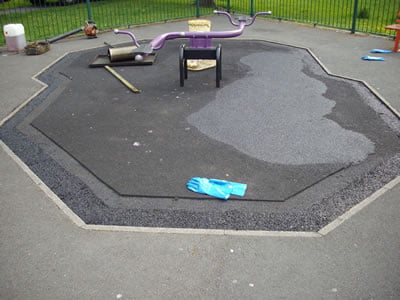
This is a single large surface with a damaged top layer. The process involved:
- Stripping back to the base layer
- Replacing part of the base layer at the edge
- Replacing the top layer to form a single neat surface.

Damaged Top Layer
Cut out damaged areas
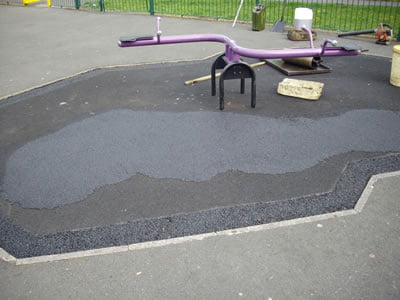
Damaged Surface Cut Out
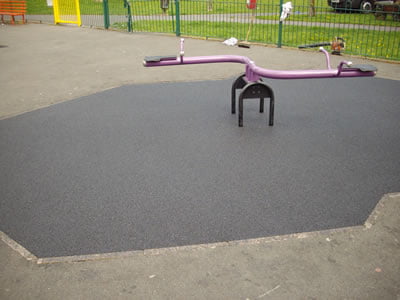
Safety surface repair completed
Contact Us
Book your Bounceback installation now!